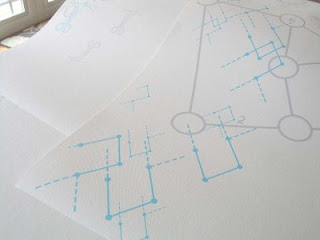
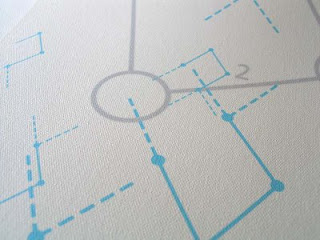
I'm finally kind of functional again and getting over a cold, so I'm starting a new project. These are canvas printed by my new (to me) printer that I found last month on Craigslist. I'm going to paint with oils over the top and see what happens. I tried this a little last summer at school, but the school printer was 44" wide, not 17" wide. But hey, I didn't have to sell my car to buy it, so that's nice.
I like printing out these diagrams so that I can have a lot of repeated identical forms without actually having to paint each one in. To make the images, I used different custom brushes in Photoshop and I love them so much I want to make sure everyone knows how to make them. So I present:
Custom brushes in Photoshop
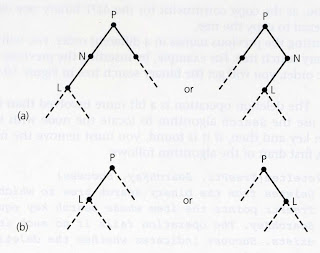
Here's my image as scanned. It's from one of my sweetheart's old college textbooks...I just tore out the pages I wanted and scanned them.
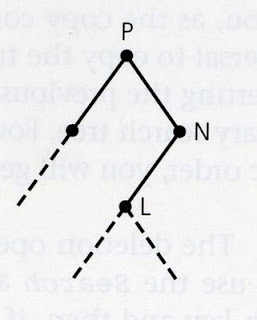 I cropped out the bits I didn't want using the crop tool in the toolbar.
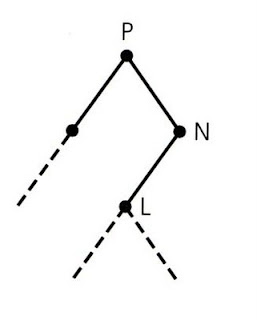
I adjusted the levels (Image-->Adjustments-->Levels) to get rid of the text showing through from the other side. Levels are a really easy way to take out the paper texture or color from scanned images. To make a white background, as here, I slide the farthest over slider on the right (a little white triangle) towards the left until the whites are actually white. Make sure the "Preview" box is checked...and it's easy to check if you like your changes by checking and unchecking the box a couple times to see the original.
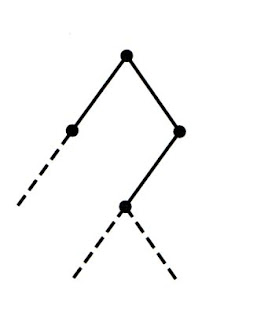 I used the brush tool with white selected for the color to just blot out those letters that I didn't want.
Now for the exciting bit: go to Edit-->Define Brush Preset. If it's grayed out, make your image a bit smaller with Image-->Image Size. In CS2, the longest side of your image can only be up to 2500 pixels wide. You can give it a name if you like.
The brush will appear when you click on the brush tool and select it from the list up in the top toolbar (newest brushes at the bottom, so scroll down to it). Pick a color you like and a new image/document to work on. To use the brush, just move your mouse to where you want it and click. You'll see the outline of the brush as you move, so it's really easy to see exactly what it will look like. You can also change the size of the brush with the Master Diameter slider.
That's it! I use my custom brushes all the time. It saves a ton of time versus just adding the same image 20 times in new layers.
Ok, I hope that all made sense. This is a learning process for me, too.


 I did some collaging over the weekend. I'm trying to keep it cohesive with the other pieces and I think it's actually working :)


